
Quickstart
Install Floodlight, complete the setup window, and run your first search.
-
Download
Download -
Move it to Applications
Open
Floodlight.dmg, then drag Floodlight onto the Applications shortcut. -
Complete setup
The setup window opens on first launch. From here you can:
- choose ⌘ Space or ⌥ Space;
- open automatically when you sign in;
- choose the folder included in search; and
- grant Full Disk Access for protected files.
If Spotlight owns ⌘ Space, select Replace Spotlight…. macOS opens its shortcut controls; turn off Show Spotlight search, then return to setup. Floodlight retries ⌘ Space automatically.
Full Disk Access is optional. Select Grant access, enable Floodlight in System Settings, return to setup, and select Done.
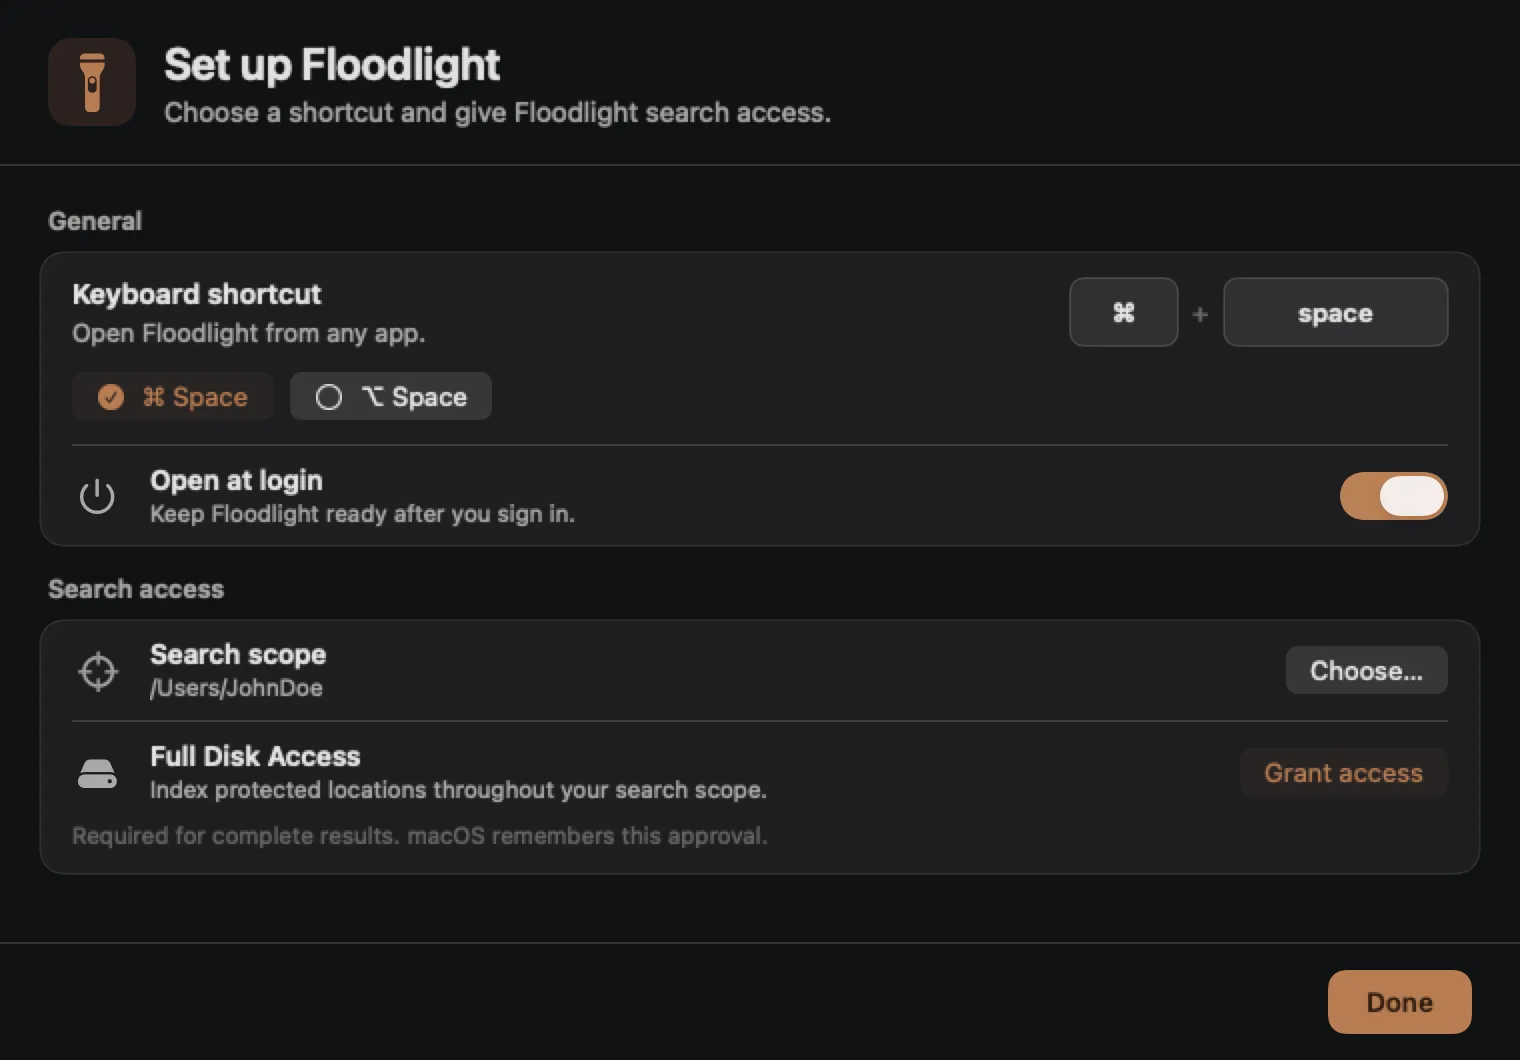
Everything needed for initial setup is available in one window. -
Search
⌘ Space is used when available, with ⌥ Space as the fallback while Spotlight still owns it. Press the active shortcut, type an app, file, folder, or setting, then press Return. Use ↑ and ↓ to move through results, single-click a result to select it, or double-click it to open it.
Follow Replace Spotlight if you want to free ⌘ Space. You can open Settings… at any time from the menu-bar flashlight.
Change settings later
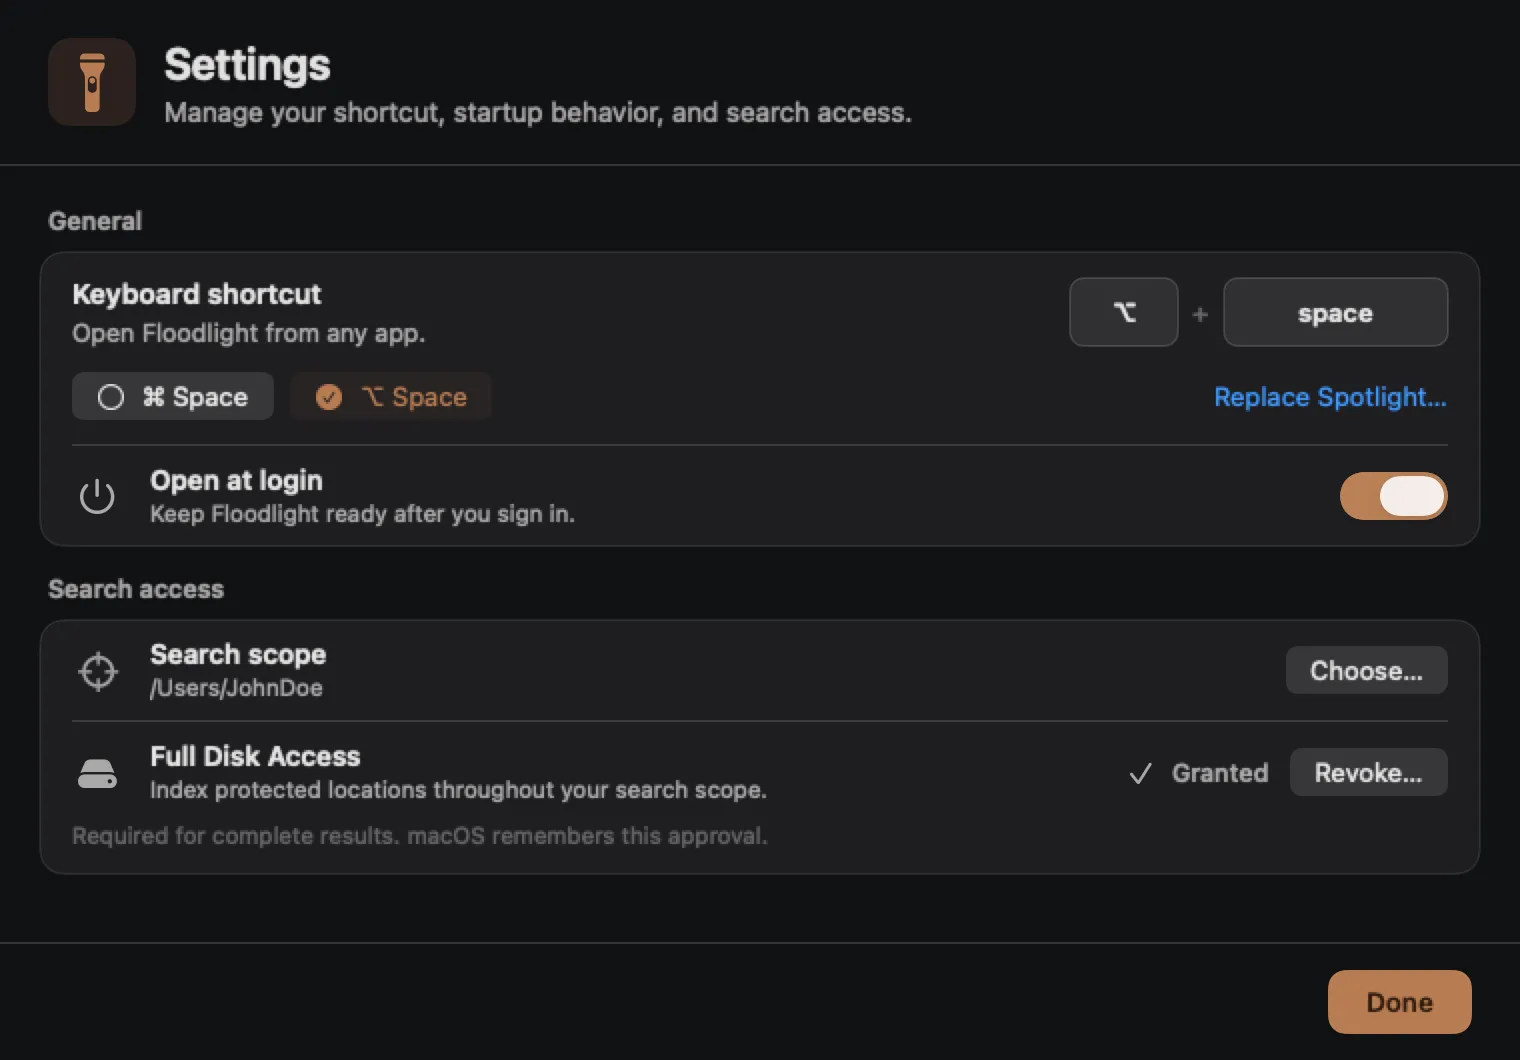
Section titled “Change settings later”Click the flashlight in the macOS menu bar and choose Settings…. The same window lets you change the shortcut, launch-at-login behavior, and search folder. You can also open Full Disk Access settings to grant or revoke access.
- Learn what appears in search.
- Memorize the small set of keyboard shortcuts.
- Fix missing files with Troubleshooting.